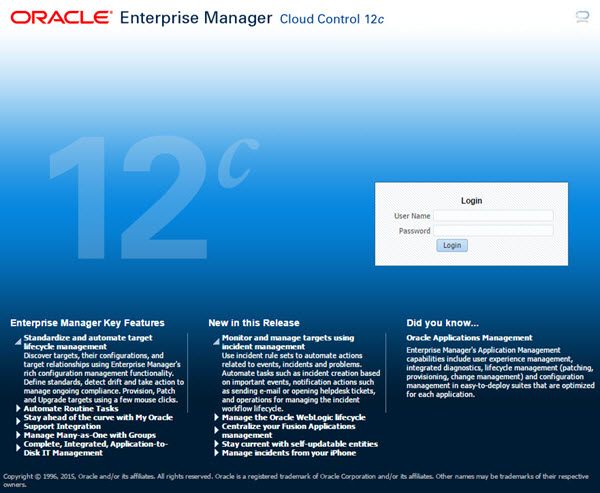
Install Cloud Control
Installing Oracle Enterprise Manager Cloud Control 12c is easy and MOS [ID 1359176.1]. Still, I wanted to create a step by step guide, and highlight the important points.
Enterprise manager needs the following Requirement :
HardwareMinimum: 6 GB of RAM.Disk Space Requirements 30Gb to 50Gb for installation of the software.
Software
OMS Package
make-3.81
binutils-2.17.50.0.6
gcc -4.1.1
libaio-0.3.106
glibc-common-2.3.4
libstdc++ -4.1.1
sysstat-5.0.5
glibc-2.5.12
glibc-devel-2.5-49
agent Package
make-3.81
binutils-2.17.50.0.6
gcc -4.1.1
libstdc++ -4.1.1
# OL5 and OL6
yum install make -y
yum install binutils -y
yum install gcc -y
yum install libaio -y
yum install glibc-common -y
yum install libstdc++ -y
yum install libXtst -y
yum install sysstat -y
yum install glibc-devel -y
# OL6 Only
yum install glibc-devel.i686 -y
# OL5 Only
yum install glibc-devel.i386 -y
yum install setarch -y
yum install rng-utils -y
yum install xorg-x11-utils -y
I will not mention the prerequisites since in 11gr2 and 12c while installation it will give what missing in OS, Database configuration and fix it thru installation, and if missing package found , the package name will appear and all you need is install it from media ( OS CD/DvD).
you need to configure database also before start install em12c :
Here are the steps:
1) Installation of Oracle Linux
2) Installation of Oracle Database (Repository Database): You can install one of the certified databases: 11.2.0.3, 11.2.0.2, 11.2.0.1, 11.1.0.7 and 10.2.0.5.
Do not forget to apply the latest PSU to the database. It is recommended that you do not use "memory_target" parameter with Enterprise Manager. Run the following commands and bounce the database:
ALTER SYSTEM SET pga_aggregate_target=1G SCOPE=SPFILE; ALTER SYSTEM SET shared_pool_size=600M SCOPE=SPFILE;
ALTER SYSTEM SET job_queue_processes=20 SCOPE=SPFILE;
ALTER SYSTEM SET log_buffer=10485760 SCOPE=SPFILE;
ALTER SYSTEM SET open_cursors=300 SCOPE=SPFILE;
ALTER SYSTEM SET processes=300 SCOPE=SPFILE;
ALTER SYSTEM SET session_cached_cursors=200 SCOPE=SPFILE;
ALTER SYSTEM SET sga_target=2G SCOPE=SPFILE;
EXEC dbms_auto_task_admin.disable('auto optimizer stats collection',null,null);
These are minimum values, you can set higher values according to your system resources. It’s also recommend to have at least 3 redo log groups sized 300M. Luckily, the installer will warn you about all these settings.
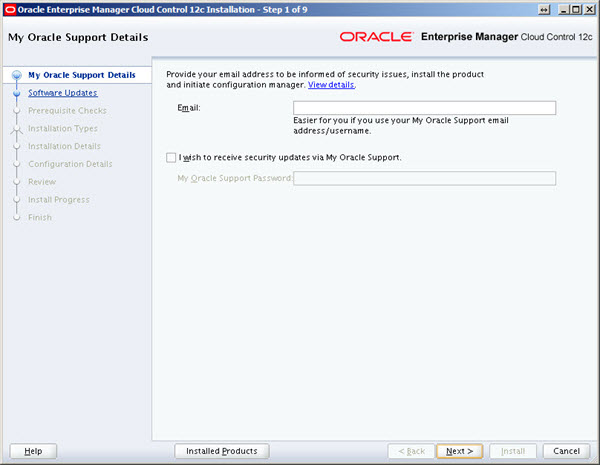
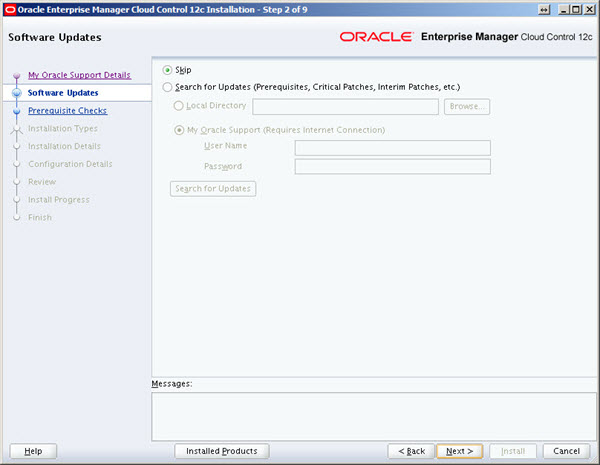
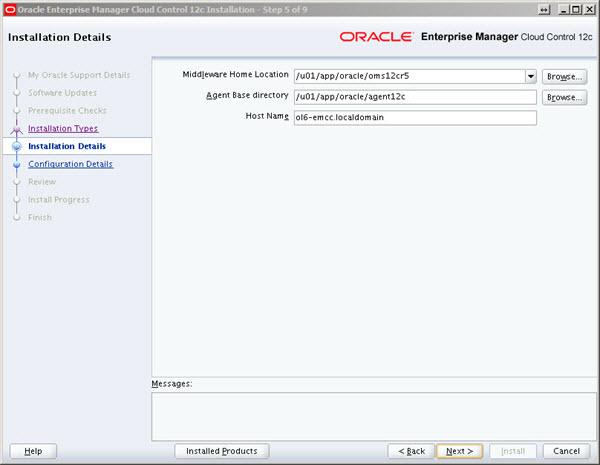
3) Installing Enterprise Manager Cloud Control software: First, create an oracle base directory (i.e. /oracle) and give permissions to oracle:
su -
mkdir /oracle
chown oracle:oinstall /oracle
exit
After you download the zip files, unzip them and run the installer:
unzip em12_linux64_disk1of2.zip -d cloudsetup
unzip em12_linux64_disk2of2.zip -d cloudsetup
cd cloudsetup
./runInstaller
Make sure that no Environmental variable related with Oracle (such as ORACLE_HOME) are set prior to installation. It’s also recommend to set umask to 022.
Enterprise manager needs the following Requirement :
HardwareMinimum: 6 GB of RAM.Disk Space Requirements 30Gb to 50Gb for installation of the software.
Software
OMS Package
make-3.81
binutils-2.17.50.0.6
gcc -4.1.1
libaio-0.3.106
glibc-common-2.3.4
libstdc++ -4.1.1
sysstat-5.0.5
glibc-2.5.12
glibc-devel-2.5-49
agent Package
make-3.81
binutils-2.17.50.0.6
gcc -4.1.1
libstdc++ -4.1.1
# OL5 and OL6
yum install make -y
yum install binutils -y
yum install gcc -y
yum install libaio -y
yum install glibc-common -y
yum install libstdc++ -y
yum install libXtst -y
yum install sysstat -y
yum install glibc-devel -y
# OL6 Only
yum install glibc-devel.i686 -y
# OL5 Only
yum install glibc-devel.i386 -y
yum install setarch -y
yum install rng-utils -y
yum install xorg-x11-utils -y
I will not mention the prerequisites since in 11gr2 and 12c while installation it will give what missing in OS, Database configuration and fix it thru installation, and if missing package found , the package name will appear and all you need is install it from media ( OS CD/DvD).
you need to configure database also before start install em12c :
- Remove Dbconsole from database with the below command :
Here are the steps:
1) Installation of Oracle Linux
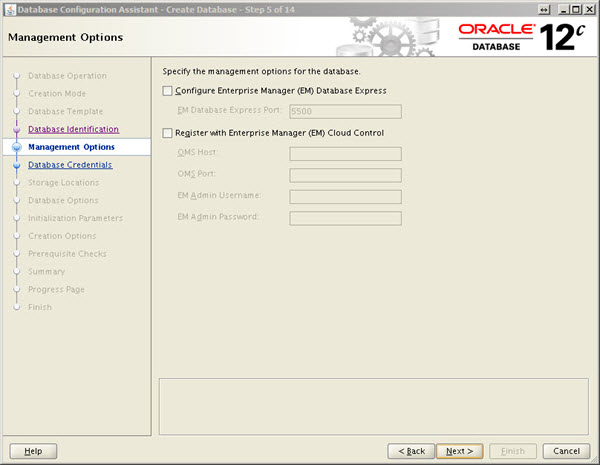
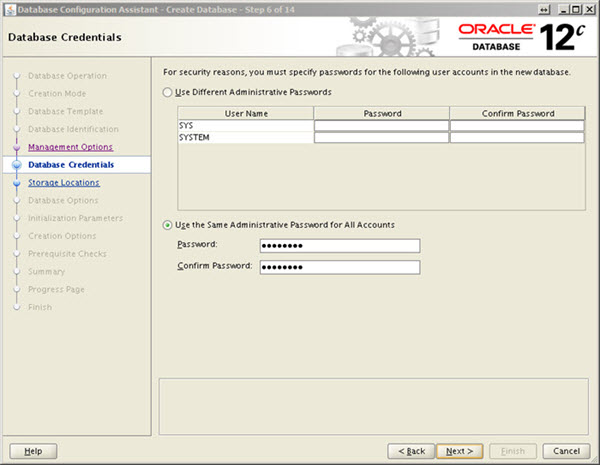
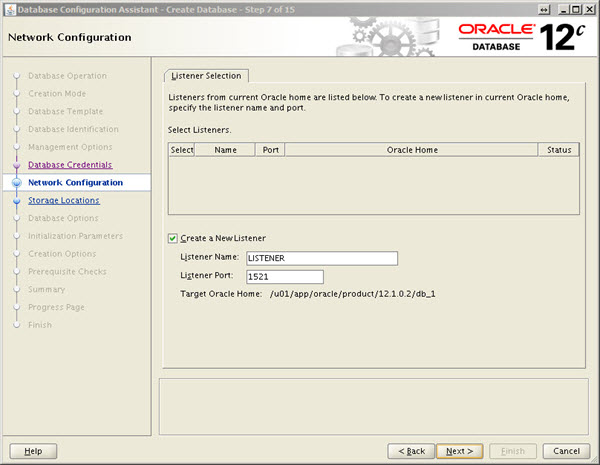
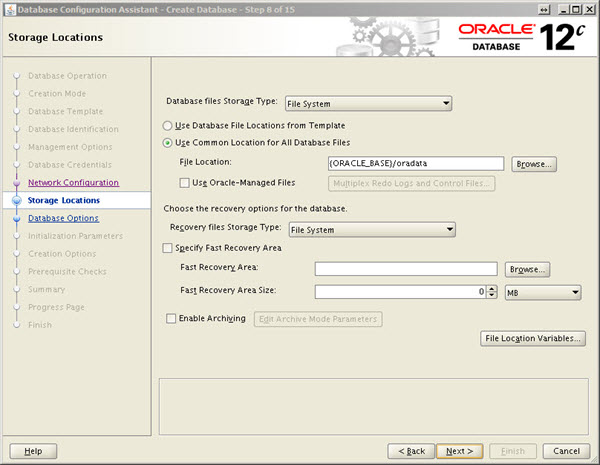
2) Installation of Oracle Database (Repository Database): You can install one of the certified databases: 11.2.0.3, 11.2.0.2, 11.2.0.1, 11.1.0.7 and 10.2.0.5.
Do not forget to apply the latest PSU to the database. It is recommended that you do not use "memory_target" parameter with Enterprise Manager. Run the following commands and bounce the database:
ALTER SYSTEM SET pga_aggregate_target=1G SCOPE=SPFILE; ALTER SYSTEM SET shared_pool_size=600M SCOPE=SPFILE;
ALTER SYSTEM SET job_queue_processes=20 SCOPE=SPFILE;
ALTER SYSTEM SET log_buffer=10485760 SCOPE=SPFILE;
ALTER SYSTEM SET open_cursors=300 SCOPE=SPFILE;
ALTER SYSTEM SET processes=300 SCOPE=SPFILE;
ALTER SYSTEM SET session_cached_cursors=200 SCOPE=SPFILE;
ALTER SYSTEM SET sga_target=2G SCOPE=SPFILE;
EXEC dbms_auto_task_admin.disable('auto optimizer stats collection',null,null);
These are minimum values, you can set higher values according to your system resources. It’s also recommend to have at least 3 redo log groups sized 300M. Luckily, the installer will warn you about all these settings.
3) Installing Enterprise Manager Cloud Control software: First, create an oracle base directory (i.e. /oracle) and give permissions to oracle:
su -
mkdir /oracle
chown oracle:oinstall /oracle
exit
After you download the zip files, unzip them and run the installer:
unzip em12_linux64_disk1of2.zip -d cloudsetup
unzip em12_linux64_disk2of2.zip -d cloudsetup
cd cloudsetup
./runInstaller
Make sure that no Environmental variable related with Oracle (such as ORACLE_HOME) are set prior to installation. It’s also recommend to set umask to 022.
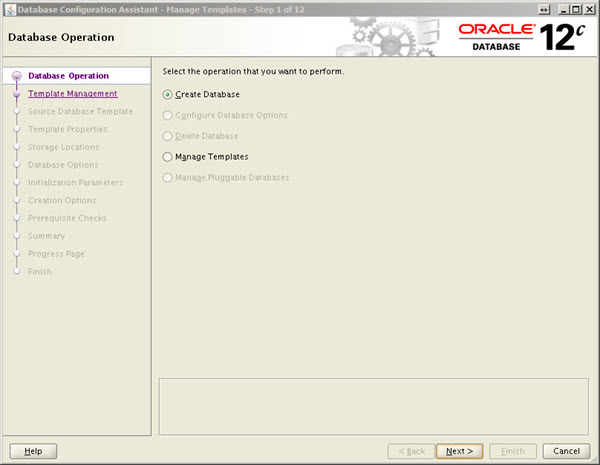
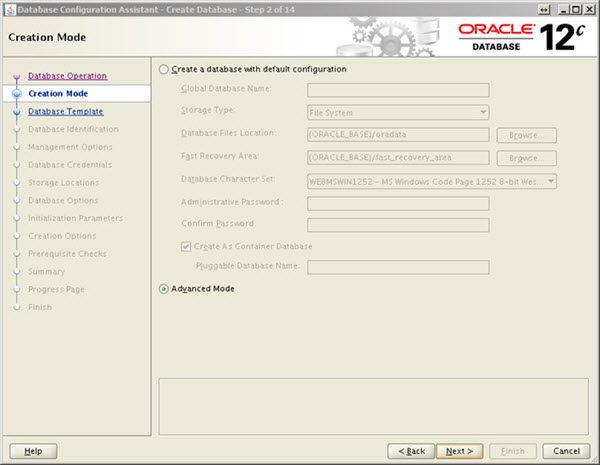
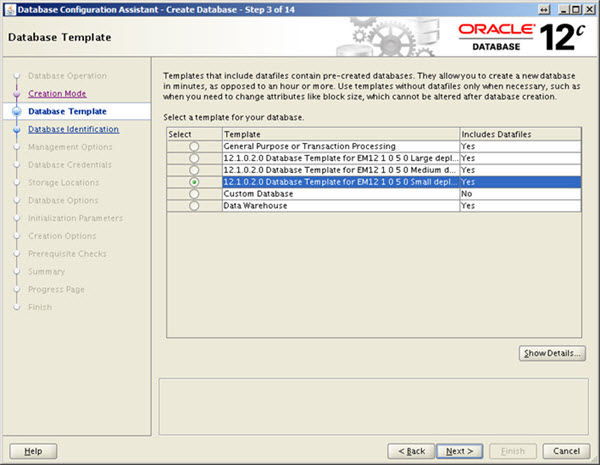
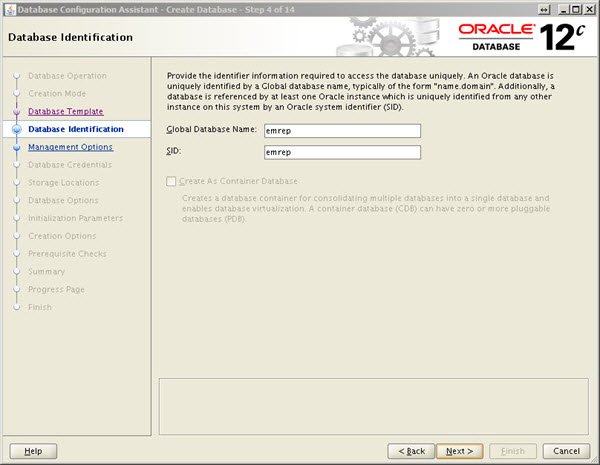
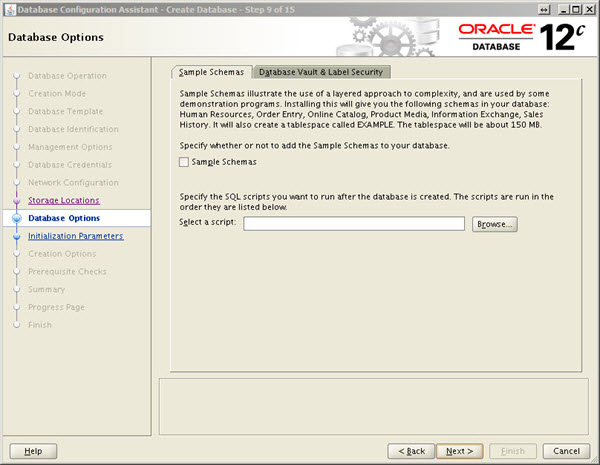
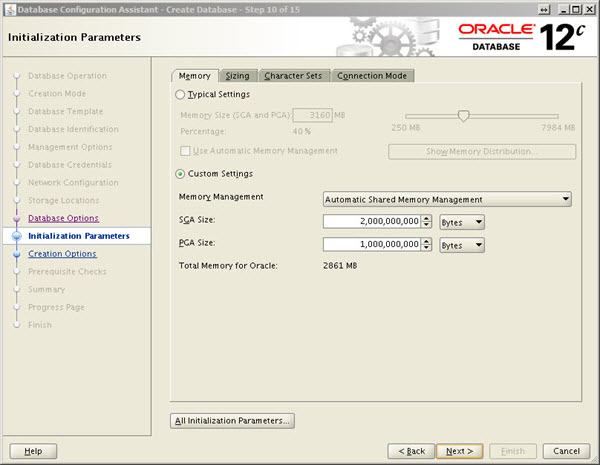
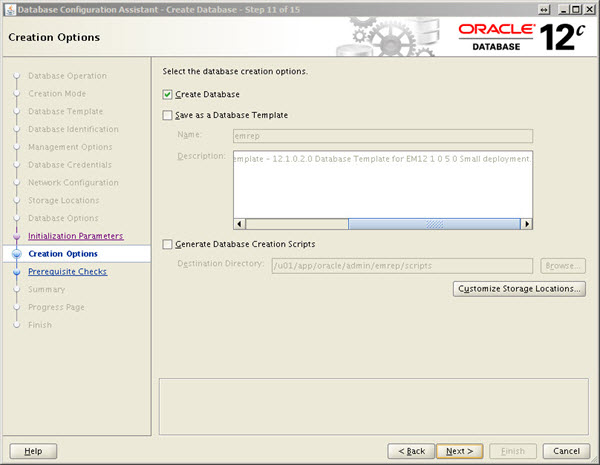
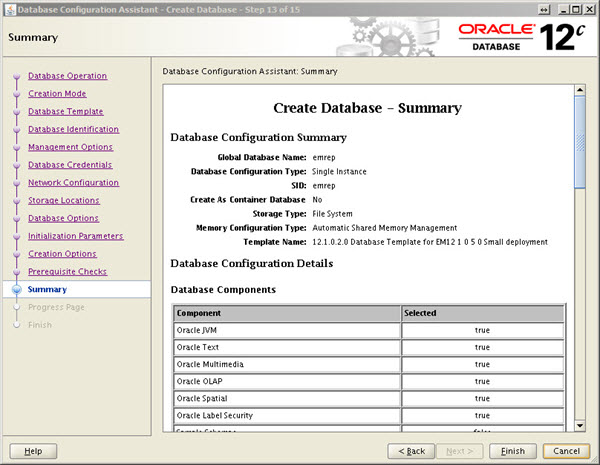
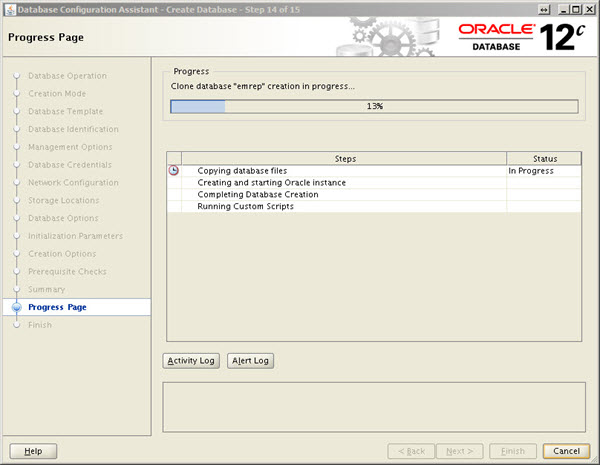
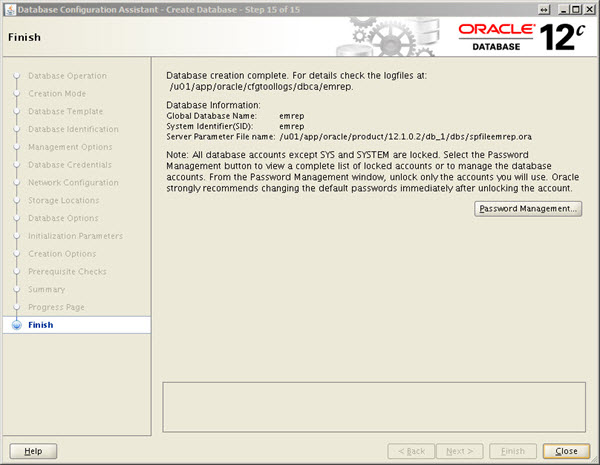
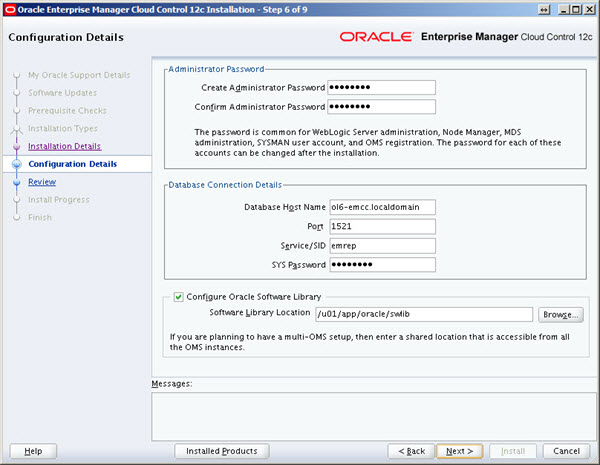
"emrep" Database Creation using DBCA
Cloud Control will install OMS, Agent and Weblogic Server
How to start and stop OMS and Agent?
Startup/Shutdown
Cloud Control is set to auto-start using the "gcstartup" service. The "/etc/oragchomelist" file contains the items that will be started by the system.
/u01/app/oracle/oms12cr5/oms /u01/app/oracle/agent12c/core/12.1.0.5.0:/u01/app/oracle/agent12c/agent_inst
On a simple installation the default auto-start will cause a problem as Cloud Control will attempt to start before the database has started. The service can be disabled by commenting out (using #) all the contents of the "/etc/oragchomelist" file to prevent the auto-start and use start/stop scripts described below.
Use the following commands to turn on all components installed by this article.
#!/bin/bash export ORACLE_HOME=/u01/app/oracle/product/12.1.0.2/db_1 export OMS_HOME=/u01/app/oracle/oms12cr5/oms export AGENT_HOME=/u01/app/oracle/agent12c/core/12.1.0.5.0 # Start everything $ORACLE_HOME/bin/dbstart $ORACLE_HOME $OMS_HOME/bin/emctl start oms $AGENT_HOME/bin/emctl start agent
Use the following commands to turn off all components installed by this article.
#!/bin/bash export ORACLE_HOME=/u01/app/oracle/product/12.1.0.2/db_1 export OMS_HOME=/u01/app/oracle/oms12cr5/oms export AGENT_HOME=/u01/app/oracle/agent12c/core/12.1.0.5.0 # Stop everything $OMS_HOME/bin/emctl stop oms -all $AGENT_HOME/bin/emctl stop agent $ORACLE_HOME/bin/dbshut $ORACLE_HOME
Post Installation Work
Setup Software Library
- Create a directory to use as the software library.
$ mkdir -p /u01/app/oracle/oms12cr2/software_library - Navigate to the "Software Library: Administration" screen using the menu at the top-right of the screen (Setup > Provisioning and Patching > Software Library).
- Select the storage type of "OMS Agent Filesystem".
- Click the "Add +" button.
- Enter a name and use the lookup buttons to select the local agent and location on the file system for the software library. Once you've selected the appropriate values, click the "OK" button.
- The software library is now configured.
- Navigate to the "My Oracle Support Preferred Credentials" screen using the menu at the top-right of the screen (Setup > My Oracle Support > Set Credentials...).
- Enter the credentials and click the "Apply" button.
- Navigate to the "Self Update" screen using the menu at the top-right of the screen (Setup > Extensibility > Self Update).
- Click on the "Check Updates" button and "OK" on the subsequent message dialog.
- Click on the "Agent Software" link.
- Highlight the agent of interest and click the "Download" button. Select the download schedule and click the "Select" button. Click the "OK" button on the confirmation dialog.
- Click the refresh button on the top-right of the screen until the download is complete and the status changes to "Downloaded".
- Highlight the newly downloaded software and click the "Apply" button, followed by the "OK" button on the two following message dialogs.
- When the status changes to "Applied", the agent software is ready for installation on a target.
- Navigate to the "Add Targets Manually" screen using the menu at the top-right of the screen (Setup > Add Target > Add Targets Manually).
- Accept the "Add Host Targets" option by clicking the "Add Host..." button.
- Click the "Add +" button.
- Enter the host and platform, then click the "Next" button.
- Enter the installation details and click the "Next" button.
Installation Base Directory : /u01/app/oracle/agent12c Instance Directory : /u01/app/oracle/agent12c/agent_inst (default) Named Credential : (click the "+" button and add the credentials of the "oracle" user) Privileged Delegation Setting: (leave blank) Port : 3872
If you are installing the agent on a HP Service Guard package, remember to set the "Additional Parameters" to point at the package-specific inventory location and override the machine name with the package name. For example.
INVENTORY_LOCATION=/u07/app/oraInventory ORACLE_HOSTNAME=my-package.example.com - Check the information on the review screen and click the "Deploy Agent" button.
- Wait while the installation takes place. The "Add Host Status" page refreshes every 30 seconds.
- When the installation completes, run the specified "root.sh" script and click the "Done" button.
- The host will now be visible on the "Targets > Hosts" screen.
- Navigate to the "Add Targets Manually" screen using the menu at the top-right of the screen (Setup > Add Target > Add Targets Manually).
- Select the "Add Non-Host Targets Using Guided Process (Also Adds Related Targets)" option, select the target types to be discovered (eg. Oracle Database, Listener and Automatic Storage Manager) and click the "Add Using guided Discovery..." button.
- Enter the host name and click the "Continue" button.
- Click the "Configure" icon for any discovered targets and enter the required details. If you are using HP Service Guard, remember to only select and configure targets belonging to the package. By default, the agent will discover all targets on the physical machine.
- When all the configuration steps are complete, click the "Finish" button, followed by the "Save" button, then finally the "OK" button.
- The targets will now be listed on the relevant target screen (Targets > Databases).
- Navigate to the "Administrators" screen using the menu at the top-right of the screen (Setup > Security > Administrators).
- Click the "Create" button.
- Enter the username/password details and check the "Super Administrator" checkbox, then click the "Review" button.
- Click the "Finish" button.
- Make sure the SMTP server is registered in the "Setup > Notifications > Notification Methods" screen.
- Check the "Setup > Incidents > Incident Rules" screen. Make sure the relevant incident rules are enabled. Create any new rules you need.
- Subscribe to any rules you want to be notified about. To do this, highlight the rule, then do "Actions > Email > Subscribe Me".
- Make sure your email is setup in the "Enterprise Manager Password & Email" screen, from the menu below your username on the top right of the screen.
